Infant & Child Drowning: A Guide to Drowning Prevention and Child CPR
Safety is our number one priority, especially when it comes to babies and young children in and around water. Recently, we’ve received some thoughtful messages asking what to do if a child drowns.
This is a serious topic, and while it can be uncomfortable to think about, our goal is not to create fear but to empower you with the knowledge and tools to keep your child safe. The good news is that drowning is preventable with proper education, preparation, and vigilance. In this post, we’ll focus on drowning prevention and what to do in the rare event of a water-related emergency.
By taking steps like teaching your child to swim early, staying attentive around water, and getting trained in CPR, you can significantly reduce the risk of drowning and feel more confident when supervising your little one in and around water.

Drowning Prevention: The First Line of Defence
Drowning is often silent and can happen in a matter of seconds. The most effective way to prevent drowning is by ensuring proper water safety practices. Here are a few essential tips to keep in mind:
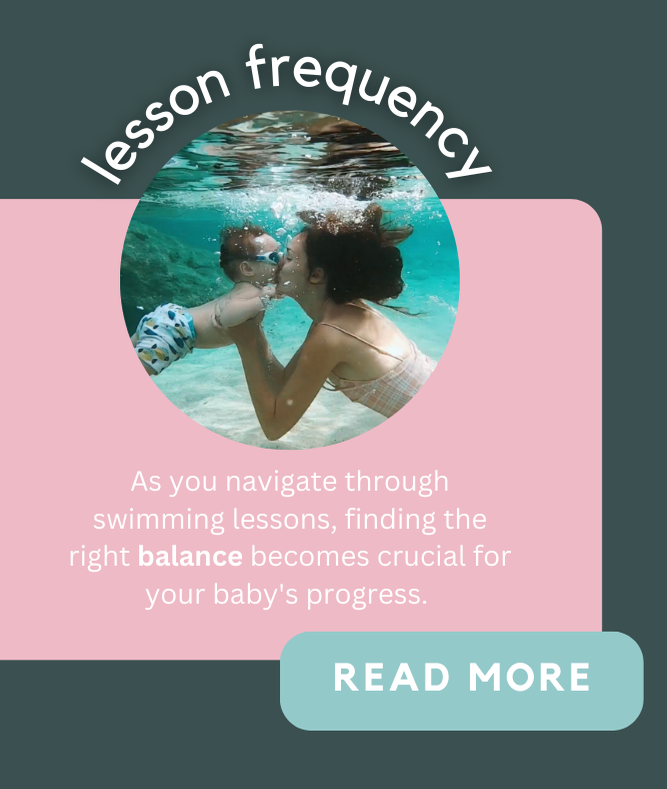
1. Start Early & Participate in Swimming Lessons

Teaching your baby to swim from a young age (this can be as early as 3 weeks old), helps them get comfortable with water. Early swim lessons teach intentional submersions, preparing babies for the sensation of water and reducing panic in case of accidental submersion. A study from the National Library of Medicine found that formal swimming lessons are associated with an 88% reduction in drowning risk for children.
Learn more about Infant & Child Swimming Lesson : The Benefits of Baby Swimming Lessons
2. Always Supervise

Never take your eyes off your child around water. Drowning children may not be able to call for help, so constant supervision is crucial. Avoid distractions like phones, alcohol, games, or conversations when your child is near water. Being attentive can save lives. Additionally, being IN the water with your child, whether they are a strong swimmer or not, is beneficial for safety and development.
Learn more about benefits of actively swimming with your child : Why We Encourage Parental Involvement in a Child’s Swim Journey
3. Avoid Puddle Jumpers & Arm Floaties

At watermellow, we discourage the use of puddle jumpers. According to the CDC, “floaties,” arm bands, or water wings can easily slip off and create a false sense of security for both parents and children. Instead, opt for U.S. Coast Guard-approved life jackets when necessary.
For more information on this topic, check out : The Hidden Dangers of Puddle Jumpers

Recognizing the Signs of Drowning
Unlike what you might see in movies, drowning is often silent. Here’s how to recognize when a child may be drowning:
The child may be quiet and unable to call for help.
They may have their head tilted back with their mouth open.
They could be floating face down or appearing upright without using their legs.
Look for gasping or hyperventilating.
Their eyes may be glassy or closed, and they may seem unable to focus.
They might appear to be climbing an invisible ladder.
Despite attempting to swim, they may make no forward progress.

In most cases, if a child inhales water while swimming, they will naturally cough it out without any major concern. However, it’s important to know when further medical attention might be necessary. If your child continues to cough for an extended period, appears drowsy, or struggles to breathe after inhaling water, you should seek emergency care immediately.
What to Do if a Child Drowns: Performing CPR
“Learn CPR and get recertified every two years. Being trained in CPR can make a big difference. If a child is drowning, even if you dial 911 immediately, it will take a few minutes for paramedics to arrive on the scene. Seconds count. Performing CPR can help a child stay alive with the best possible outcome. Every parent and caregiver should know CPR and basic first aid.”
— CDC (Centers for Disease Control and Prevention)

We strongly encourage every parent or guardian to obtain and regularly update their First Aid and CPR certifications. While we’ve included a detailed action plan straight from the American Red Cross below, we highly recommend formal certification for anyone responsible for a child’s care, as drowning can occur not only during swimming but also at home in the bathtub.
*information below taken directly from American Red Cross website*
Before Giving Child or Baby CPR
1 - Check the scene for safety, form an initial impression, obtain consent from the parent or guardian, and use personal protective equipment (PPE)
2 - If the child or baby appears unresponsive, check the child or baby for responsiveness (shout-tap-shout)
For a child, shout to get the child’s attention, using the child’s name if you know it. If the child does not respond, tap the child’s shoulder and shout again while checking for breathing, life-threatening bleeding or another obvious life-threatening condition
For a baby, shout to get the baby’s attention, using the baby’s name if you know it. If the baby does not respond, tap the bottom of the baby’s foot and shout again while checking for breathing, life-threatening bleeding or another obvious life-threatening condition
Check for no more than 10 seconds
3 - If the child or baby does not respond and is not breathing or only gasping, CALL 9-1-1 and get equipment, or tell someone to do so
Performing Child & Baby CPR
1 - Place the child or baby on their back on a firm, flat surface
For a child, kneel beside the child
For a baby, stand or kneel to the side of the baby, with your hips at a slight angle
2 - Give 30 compressions
For a child, place the heel of one hand in the center of the child’s chest, with your other hand on top and your fingers interlaced and off the child’s chest
Position your shoulders directly over your hands and lock your elbows
Keep your arms straight
Push down hard and fast about 2 inches at a rate of 100 to 120 per minute
Allow the chest to return to normal position after each compression
For a small child, use a one-handed CPR technique
Place the heel of one hand in the center of the child’s chest
Push down hard and fast about 2 inches at a rate of 100 to 120 per minute
For a baby, place both thumbs (side-by-side) on the center of the baby’s chest, just below the nipple line
Use the other fingers to encircle the baby’s chest toward the back, providing support
Using both thumbs at the same time, push hard down and fast about 1 ½ inches at a rate of 100 to 120 per minute
Allow the chest to return to its normal position after each compression
Alternatively, for a baby, use the two-finger technique
Use two fingers placed parallel to the chest in the center of the chest
For a baby, if you can’t reach the depth of 1 ½ inches, consider using the one-hand technique
3 - Give 2 breaths
For a child, open the airway to a slightly past-neutral position using the head-tilt/chin-lift technique
For a baby, open the airway to a neutral position using the head-tilt/chin-lift technique
Blow into the child or baby’s mouth for about 1 second
Ensure each breath makes the chest rise
Allow the air to exit before giving the next breath
If the first breath does not cause the chest to rise, retilt the head and ensure a proper seal before giving the second breath. If the second breath does not make the chest rise, an object may be blocking the airway
4 - Continue giving sets of 30 chest compressions and 2 breaths until:
You notice an obvious sign of life
An AED is ready to use
Another trained responder is available to take over compressions
EMS personnel arrive and begin their care
You are alone and too tired to continue
The scene becomes unsafe
You have performed approximately 2 minutes of CPR (5 sets of 30:2), you are alone and caring for baby, and you need to call 9-1-1
Be prepared for moments that matter by taking a CPR class and you could help save a life.
While these situations are uncommon, knowing what to look for and staying calm is key. This is why first aid and CPR training for parents and caregivers is invaluable. The goal of this blog post is not to create fear but to equip parents with the confidence and skills to handle emergencies effectively. Remember, awareness and preparation can prevent panic and lead to the best possible outcomes.